DIY Tree Branches Home Decor Ideas
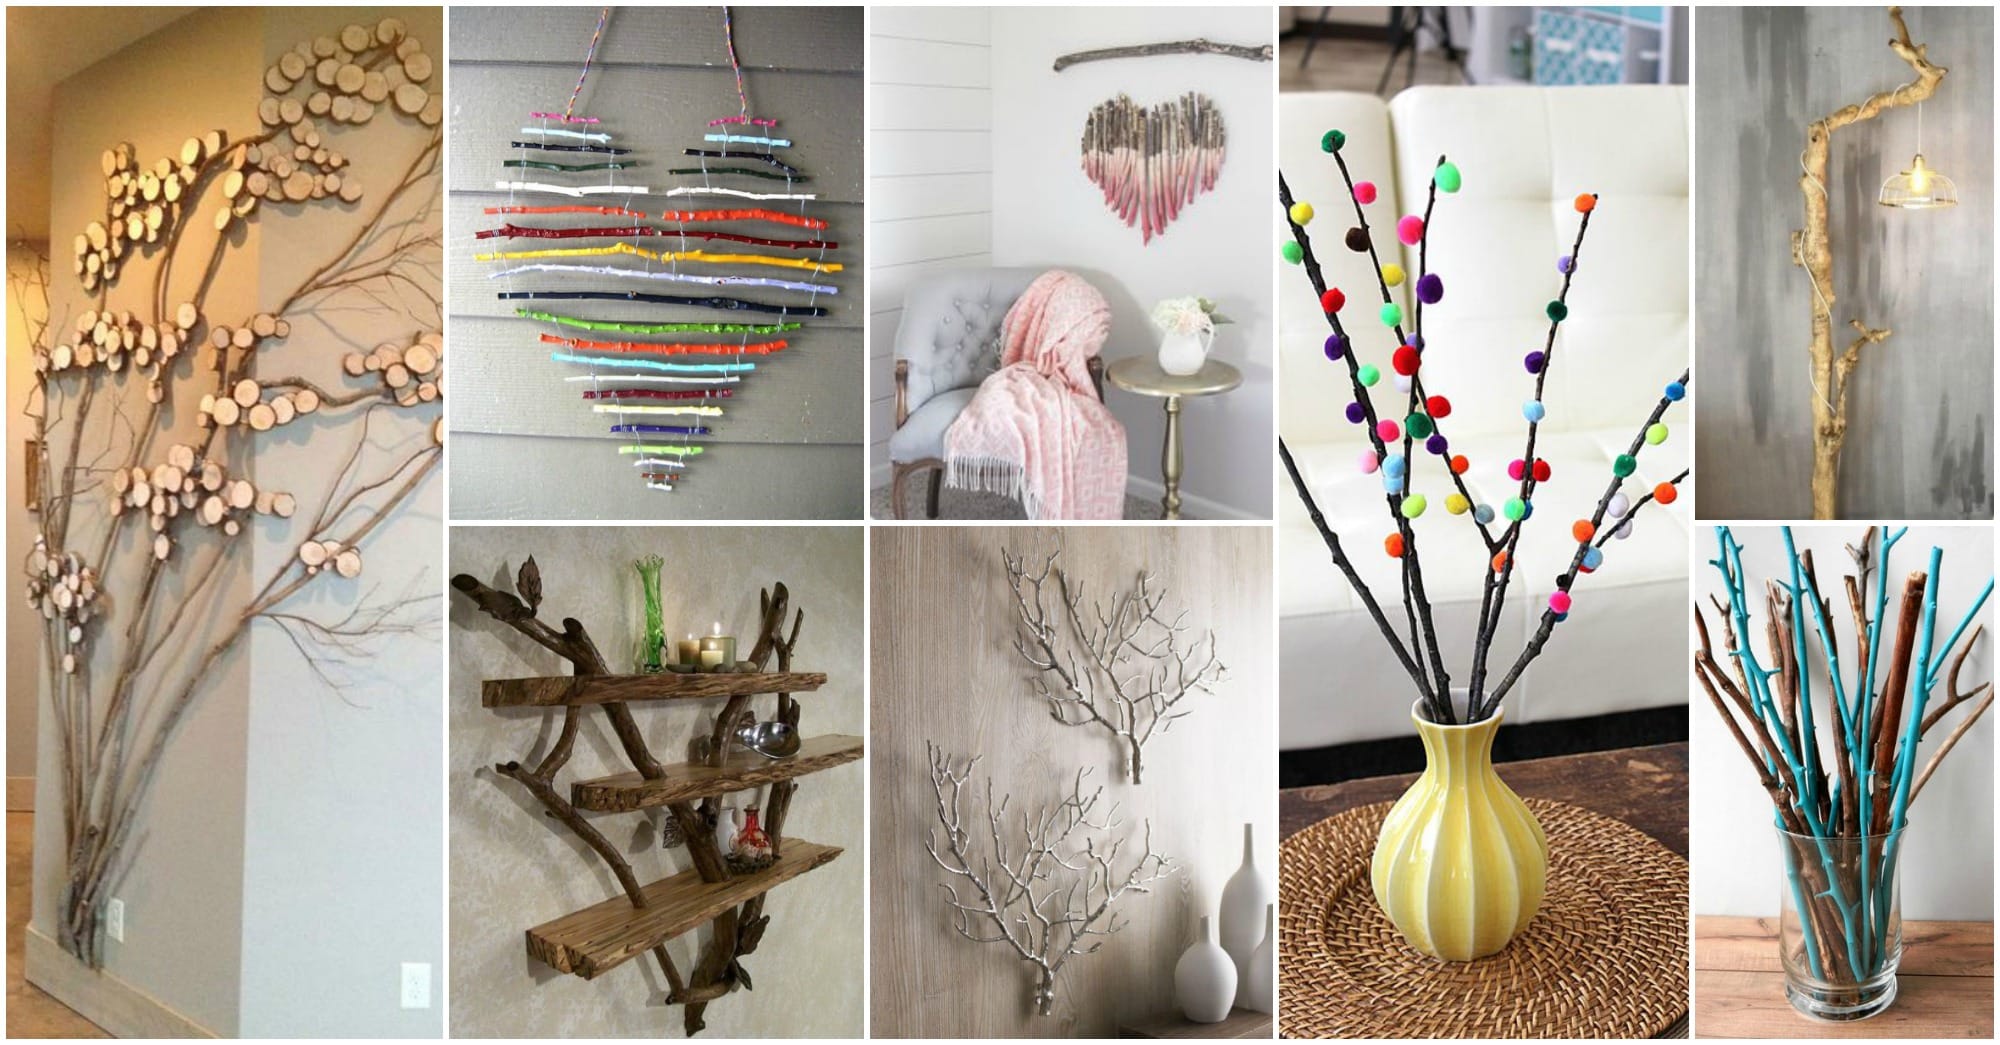
If you want to do an easy DIY project, then you should use the gifts from Nature and incorporate them in your interior.
Tree branches are really easy to find and easy to use. You will be surprised of how many different decor ideas might come out of a tree branches.
Today, especially for you, we made a collection of amazing DIY Tree Branches Home Decor Ideas That You Will Love to Copy. Check this out and share your thoughts with us.
Use Tree Branches in Home Decor
Using tree branches in home decor is a fantastic way to bring a natural, rustic, and organic touch to your living space. Not only do they add beauty and texture, but they also give your home a unique and personal style.
Whether you're looking to add a little greenery to your room, create stunning focal points, or craft personalized items, tree branches can be repurposed into an endless variety of home decor pieces.
Via Amazon
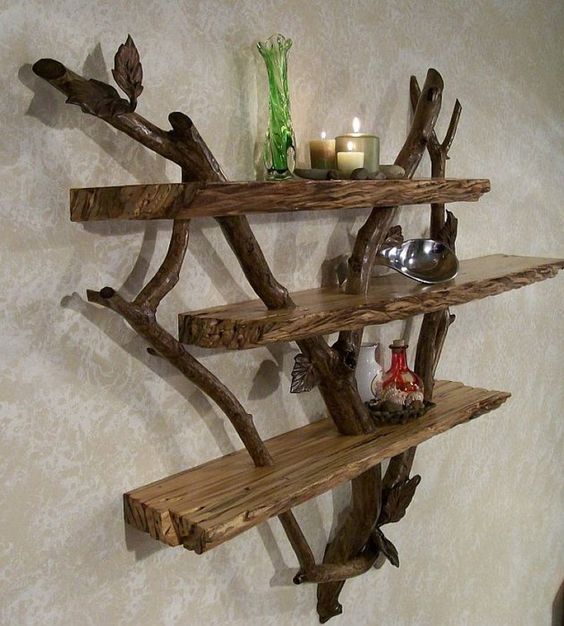
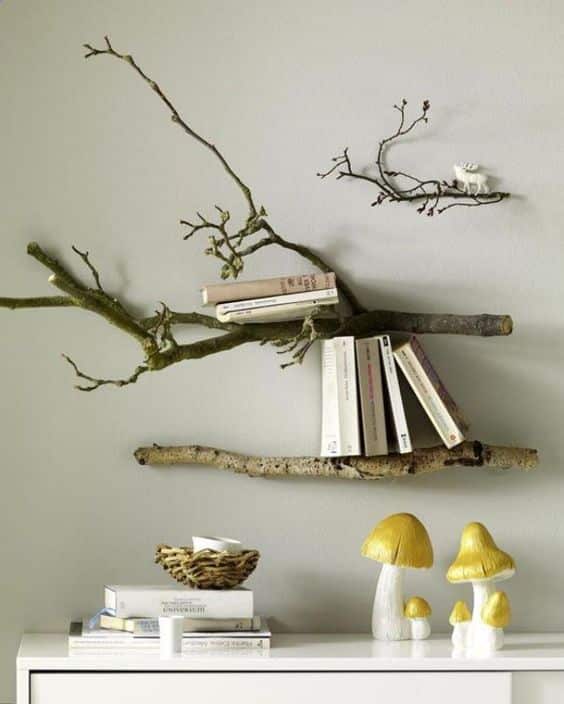
Via: www.linfacreativa.net
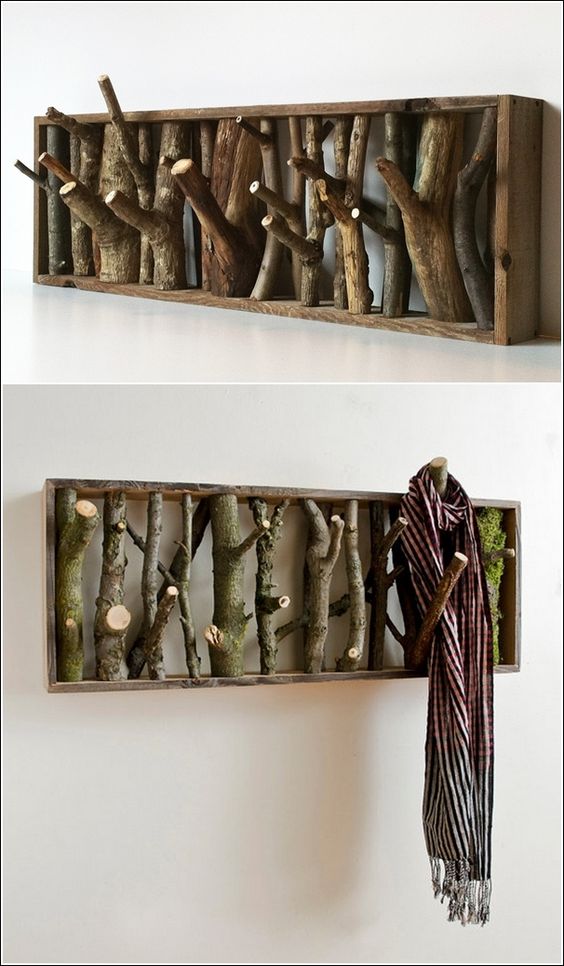
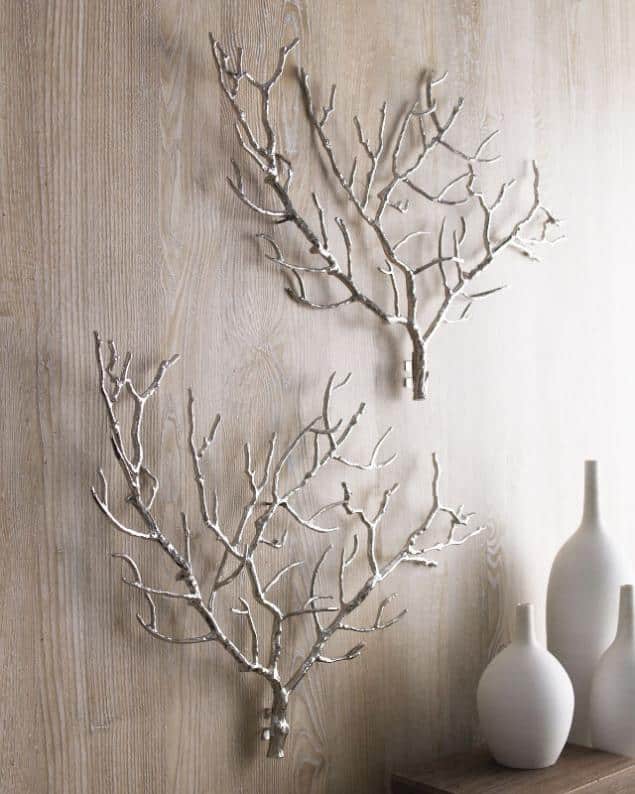
Via: www.1001ideias.pt
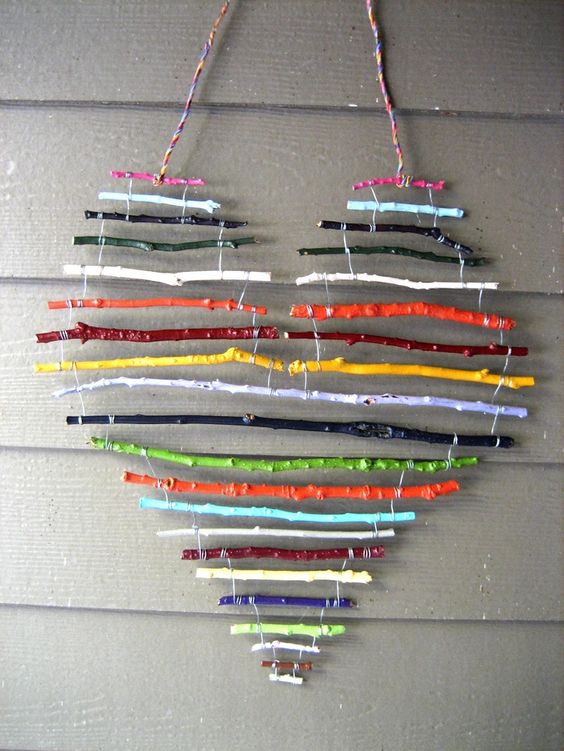
Via: Daily Heart
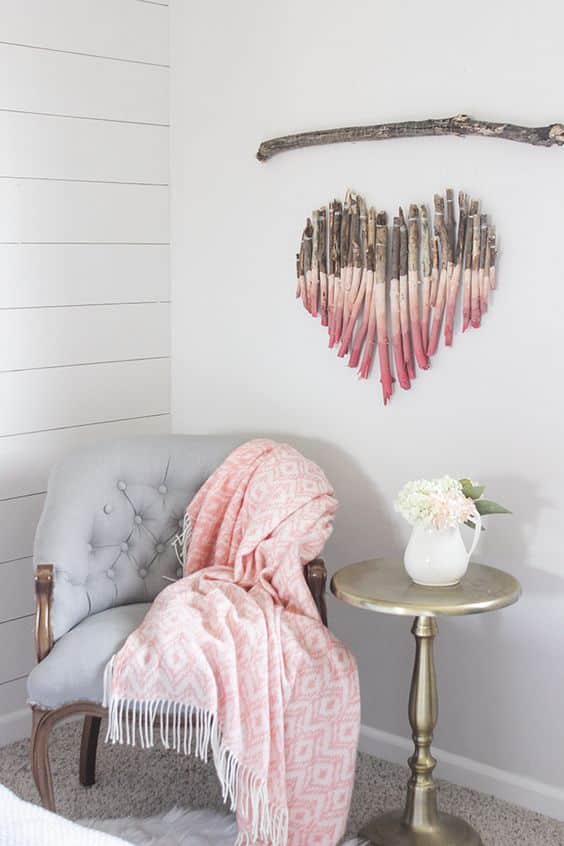
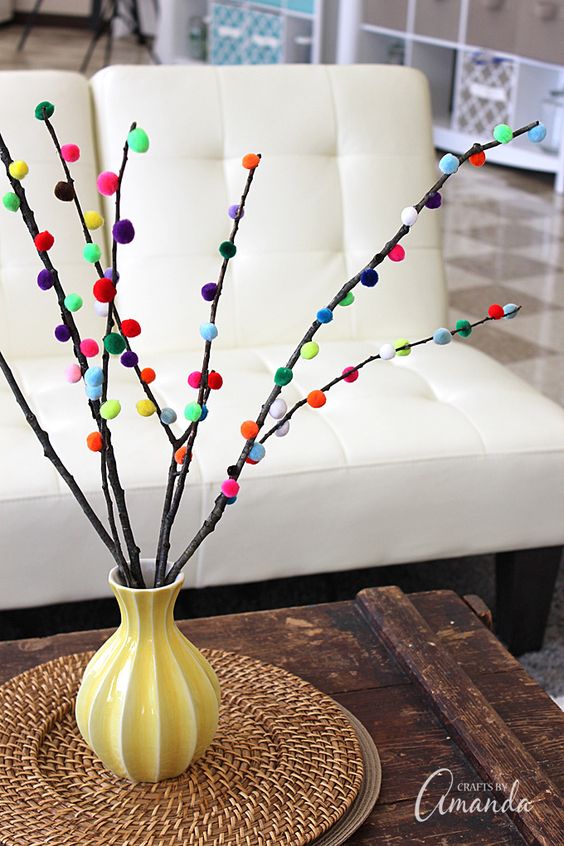
Via: Pom Pom Container via Ciburbanity

Via: www.knitttingcrochet.com/diy-projects-tree-branches.html

Via: m.blog.naver.com
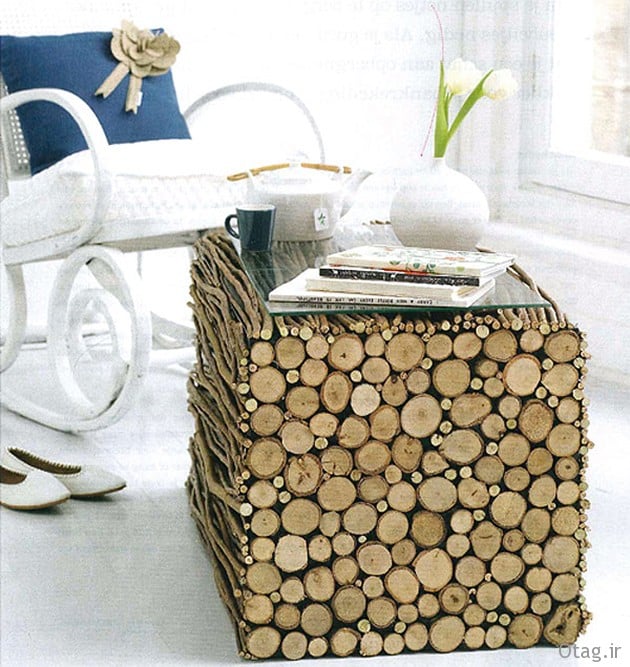
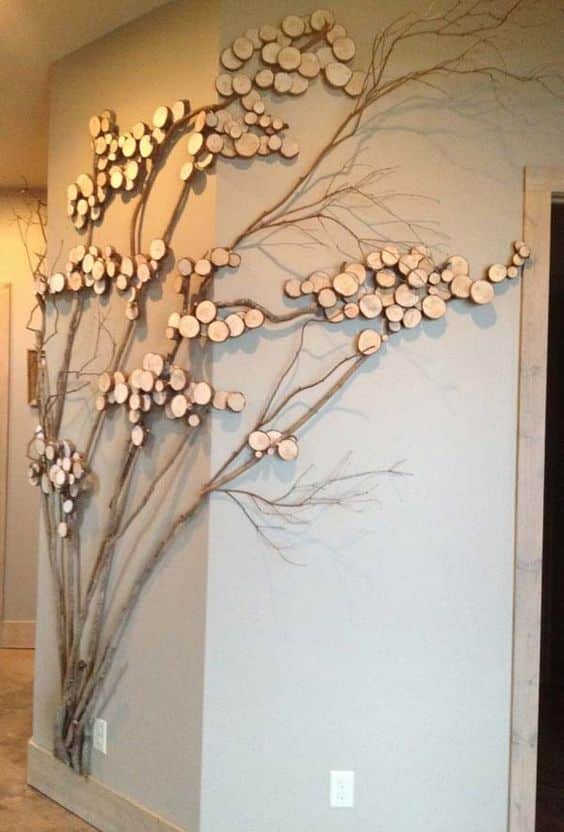
Via: opendeco.com

Via: diy-craft
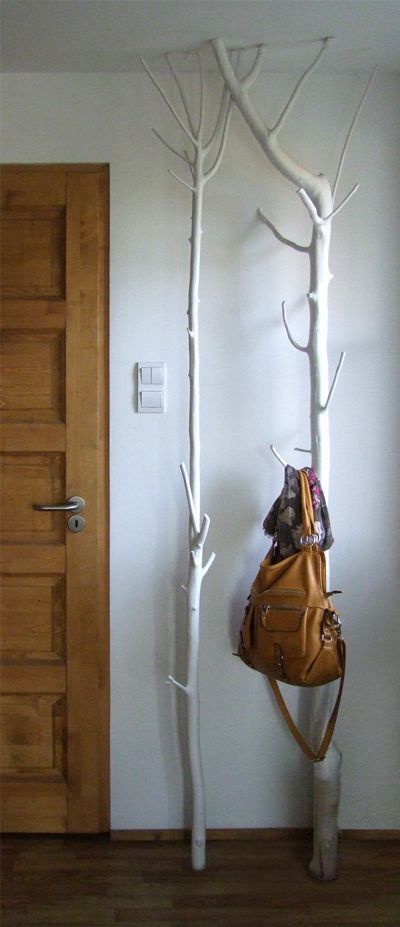
Via: designintuition.co
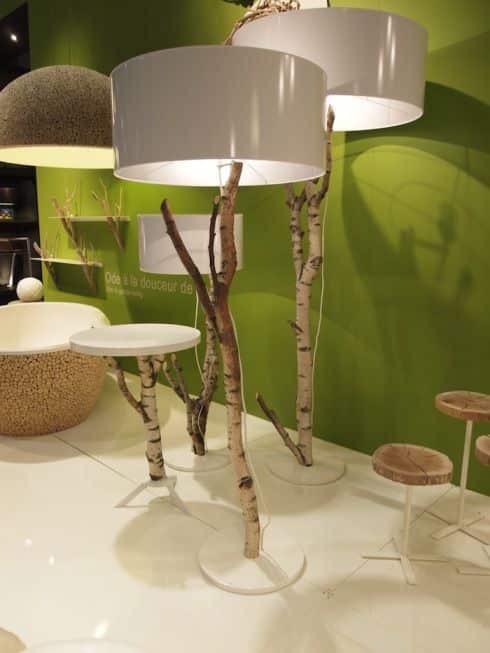
Via: m.blog.naver.com
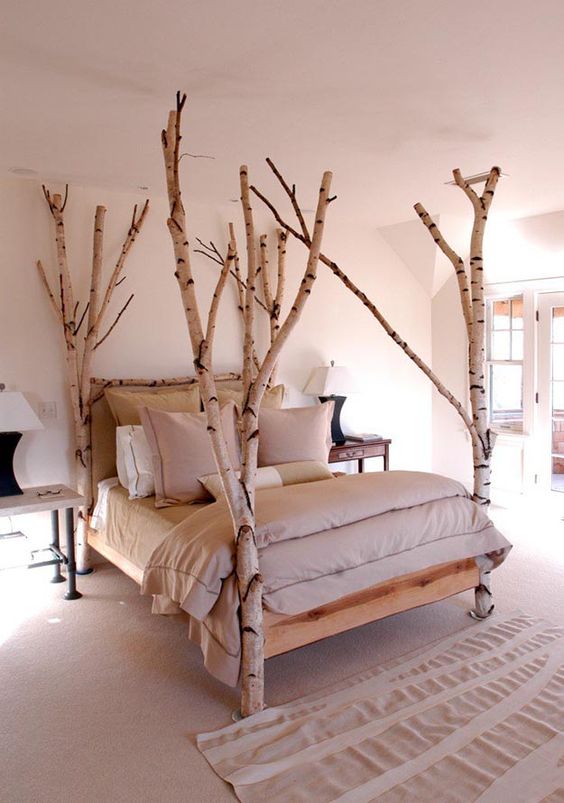
Via: www.lushome.com
DIY Tree Branches Home Decor Ideas
1. Tree Branch Coat Hanger
A tree branch can easily be transformed into a functional and stylish coat hanger for your entryway.
Materials Needed:
- A sturdy branch
- Screws or hooks
- Saw (if you need to shorten the branch)
- Drill
- Sandpaper
Instructions:
- Cut the branch to the desired length for your coat hanger.
- Use sandpaper to smooth rough edges and remove any bark if preferred.
- Drill holes into the branch where you’ll attach the hooks.
- Attach the hooks to the branch, and secure it to the wall using screws or brackets.
This simple project will not only keep your coats organized but also add a natural element to your hallway.
2. Tree Branch Mirror Frame
A tree branch mirror frame is a stunning way to incorporate branches into your decor while creating a statement piece for any room.
Materials Needed:
- A round or square mirror
- Tree branches (about 10-12 pieces)
- Hot glue gun or wood glue
- Saw (optional, if needed for trimming the branches)
Instructions:
- Arrange the branches around the mirror to form a frame. You can either create a symmetrical look or a more organic, free-flowing design.
- Trim the branches to the correct size if necessary.
- Attach the branches to the back of the mirror with hot glue or wood glue, starting from the outer edges and working your way in.
- Let the glue dry before hanging the mirror.
This DIY frame brings a rustic charm to any room, whether you hang it in the bathroom, bedroom, or living room.
3. Tree Branch Candle Holder
A tree branch candle holder adds a rustic and cozy feel to your dining table or mantelpiece.
Materials Needed:
- A thick, sturdy branch
- Drill with a wood drill bit
- Tea light candles
- Saw
Instructions:
- Cut the branch into pieces, making sure to choose a branch with a stable flat surface for support.
- Drill small holes into the branch, sized for your tea light candles.
- Place the candles into the holes, and use the holder as a beautiful, natural centerpiece for your table.
4. Tree Branch Wall Art
Create unique wall art by arranging tree branches in an abstract or geometric design.
Materials Needed:
- Tree branches (various lengths)
- Saw
- Hot glue gun
- Frame (optional)
Instructions:
- Cut the tree branches into different sizes, depending on the design you wish to create.
- Lay the pieces on the floor to arrange them into a pattern or geometric design.
- Use a hot glue gun to secure the branches together in the desired pattern.
- Once the glue is dry, you can either frame the branches or hang them directly on the wall.
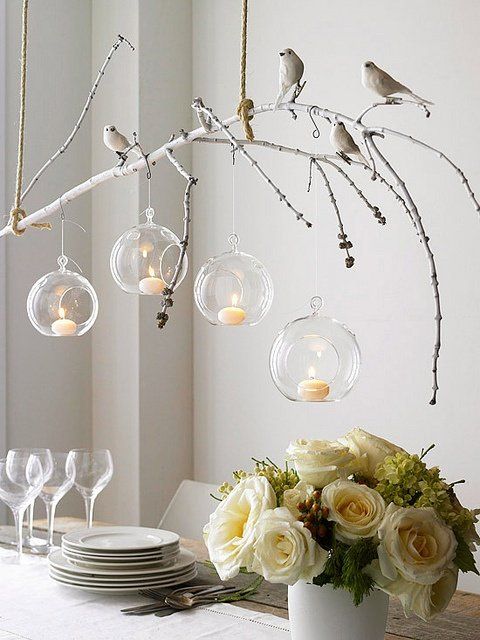
5. Tree Branch Chandelier
A tree branch chandelier is the perfect way to make a bold statement in your living room or dining area.
Materials Needed:
- A sturdy branch (large enough to support lights)
- Light bulbs or pendant light fixtures
- Electrical wire
- Ceiling hook or mounting kit
- Drill
Instructions:
- Choose a sturdy, attractive branch to serve as the base of the chandelier.
- Drill holes to attach the light fixtures evenly across the branch.
- Attach the pendant lights or bulbs to the branch using electrical wire.
- Mount the chandelier to the ceiling using a hook or mounting kit.
This project may require some basic electrical knowledge, but it’s an impressive DIY project that will add a natural and rustic feel to your home.
